5031 N Gay Ave, Portland, OR 97217
Silhouette Studio Workflows

Vector Layer Management

Structuring cut boundaries, kiss-cut perimeters, registration alignments, and variable text hierarchies to prevent tool collision and misregistration across repeated production sheets.

Elena Rostova 2026-10-05 7 min read
Vector Layer Management
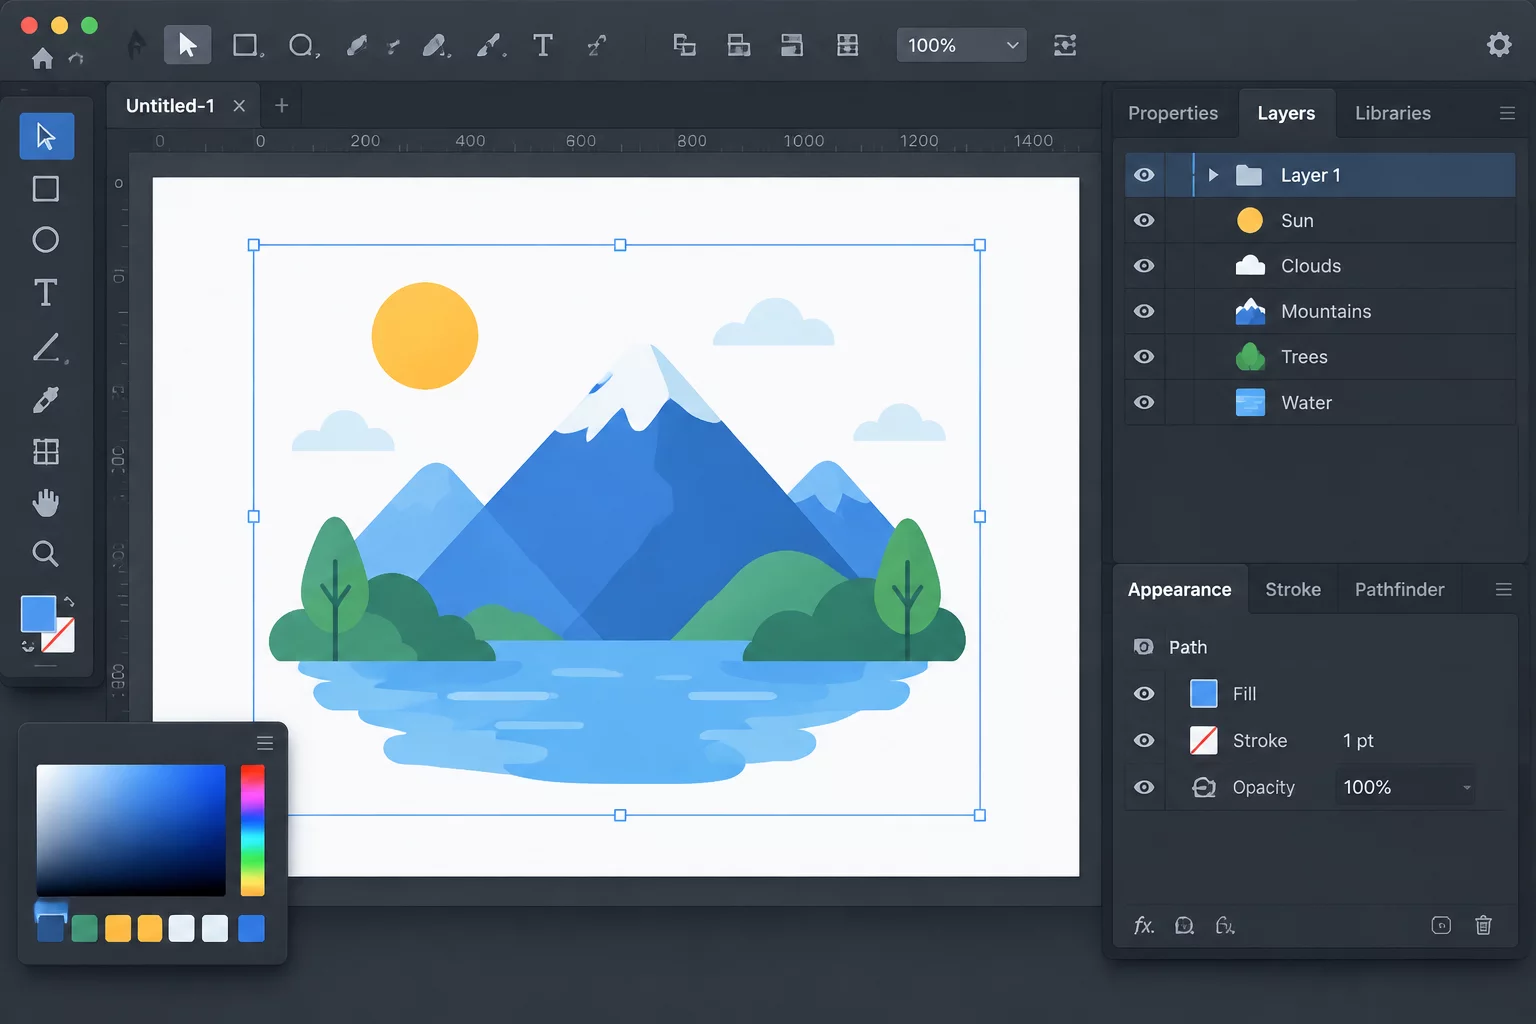
Interface view of structured cut lines, kiss-cut contours, and live text compound paths in Silhouette Studio.
Cut Hierarchy Internal cuts precede boundary die cuts
Stroke Filter Color-coded strokes isolate tool behaviors
Text Locking Compound paths shield typography from knife action

Architecting Multi-Level Vector Stacks for Variant Labels

When handling label runs containing varied names, numbers, or barcodes, Silhouette Studio frequently interprets imported vector text as cut geometries rather than graphic fills. Without deliberate layer grouping, the cutting carriage treats letter stems, inside bowl counters, and label borders with identical blade pressure, tearing delicate cardstock or slicing through vinyl backing.

A robust file setup begins by isolating graphic fills from mechanical outlines. The designer separates artwork into dedicated levels before multiplying the label geometry across the cutting mat. In practical sheet production, grouping each label unit into a self-contained container while assigning dedicated line colors ensures predictable results across repetitive nesting routines.

Four Functional Tiers in the Object Palette

To prevent knife drag and unintended cut strokes, assign every shape to one of four strict functional tiers within your workspace:

  • Print-Only Graphic Tier: Retains raster artwork, typography fills, and background gradients with stroke weight set strictly to 0.00 pt and line color set to transparent.
  • Kiss-Cut Contour Tier: Contains the inner peel boundary assigned a distinctive bright magenta stroke at 0.25 pt, calibrated for light blade depth that cuts only the vinyl face film.
  • Through-Cut Die Tier: Outlines the perimeter backing sheet in solid cyan, designated for higher downforce and a double pass to punch individual label cards cleanly from the master carrier.

Locking these levels inside the software prevents incidental mouse nudges during variant text replacement. When names alter from three letters to fourteen, the surrounding kiss-cut boundary remains mathematically locked to its origin coordinates.

Assigning Execution Sequence via Cut by Line in the Send Panel

Relying on Simple Cut mode often leads to accidental blade passes over text baselines. Shifting the Send panel to the Line tab gives absolute control over tool actions, cutting order, and pressure adjustments across distinctive path colors.

  1. Audit Stroke Colors Across All Duplicated Items: Open the Select by Color tool, highlight transparent or unfilled strokes, and verify that no live typographic elements carry active line properties.
  2. Sequence Mechanical Passes by Moving Colors Up or Down: Position kiss-cut lines at the top of the queue so the sheet retains maximum structural rigidity while internal shapes are sliced. Place the perimeter die lines at the bottom of the list.
  3. Store Custom Force and Speed Presets per Vector Color: Set Tool 1 with Ratchet or AutoBlade force 4, speed 5 for magenta kiss-cuts, while configuring cyan outer boundaries with force 28, speed 3, and pass count 2.

Check each layer tickbox individually before dispatching the job to the machine. Disabling the print graphic layer inside the Send tab guarantees that the cutter never attempts to trace decorative letterforms, eliminating ruined sheets and preserving blade sharpness.

Summary Rules for Stable Batch Runs

  • Always convert variable typographic strings into compound paths before grouping to prevent phantom bounding box recalculations.
  • Execute shallow kiss-cut perimeters prior to full backing release cuts so the media cannot buckle under the pinch rollers.
  • Keep optical registration mark bounding zones entirely free of vector cut paths to avoid optical sensor read errors during initial calibration.
Tags: Silhouette Studio Line Color Cut Compound Paths Die-Cut Registration
Elena Rostova
Digital Production Lead

Elena Rostova

Elena oversees prepress vector automation, plotting calibration, and typographic batch workflows, translating complex multi-name label sets into error-free cutter output.

Field Q&A

Vector Layer Operations

By default, native text elements possess a default red outline. Select all text objects, set their stroke color swatch to transparent (crossed red line), and set the stroke thickness to 0.00 pt. In the Send tab, switch from Simple to Line mode to verify the text color does not carry an enabled cut action.

Grouping simply bundles separate objects together so they move simultaneously. A compound path merges multiple vector curves into a singular mathematical surface, punching interior counters (such as the center hole in an 'O' or 'A') cleanly through the outer shape without unexpected overlap lines.

Reduce cutting speed to 2 or 3 for tight vector radii, enable Line Segment Overcut in the advanced cut preferences, and verify that corner vertices do not contain microscopic duplicate points. Simplifying nodes in the Point Editing panel removes micro-zigzags that snag the blade tip.

Consult on Production Layer Templates

Get in touch for customized cut-sheet presets, line-weight specifications, and workflow audits for large-scale personalized label orders.